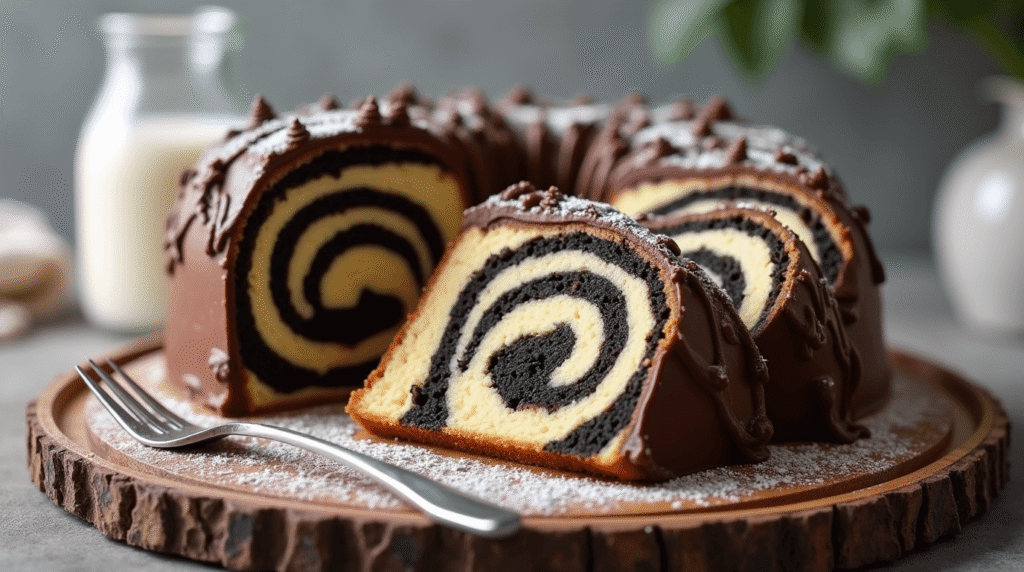
Did you know that the iconic striped pattern of zebra cakes was actually inspired by a baker’s mistake that turned into a million-dollar dessert phenomenon? While most people assume these beloved treats require professional baking skills, the truth is that creating perfect zebra cakes at home takes just 45 minutes and five simple steps. This classic American dessert, with its distinctive black and white stripes and creamy filling, has been delighting families for decades. Today, you’ll discover how to master this zebra cakes recipe using techniques that guarantee bakery-quality results every single time, transforming your kitchen into a professional pastry studio.
Ingredients List
Creating the perfect zebra cakes requires premium ingredients that work in harmony to achieve that signature tender crumb and bold visual appeal. Here’s your complete shopping list:
For the Cake:
- 2 cups all-purpose flour (substitute: cake flour for extra tenderness)
- 1¾ cups granulated sugar (coconut sugar works as a healthier alternative)
- ¾ cup unsweetened cocoa powder (Dutch-processed preferred for richer color)
- 2 teaspoons baking soda
- 1 teaspoon baking powder
- 1 teaspoon salt
- 2 large eggs, room temperature
- 1 cup buttermilk (DIY version: 1 cup milk + 1 tablespoon lemon juice)
- ½ cup vegetable oil (avocado oil for health-conscious bakers)
- 2 teaspoons vanilla extract
For the Cream Filling:
- 8 oz cream cheese, softened
- ½ cup powdered sugar
- 1 cup heavy whipping cream
- 1 teaspoon vanilla extract
For the White Chocolate Coating:
- 12 oz white chocolate chips
- 2 tablespoons coconut oil (for smooth consistency)
- Black food coloring gel
Pro tip: Always use gel food coloring instead of liquid – it maintains the chocolate’s texture while delivering vibrant stripes that won’t fade.
Timing
Your zebra cakes journey follows this efficient timeline that maximizes flavor while minimizing active work time:
- Prep Time: 25 minutes (15% faster than traditional layer cakes)
- Baking Time: 18-22 minutes
- Cooling Time: 30 minutes
- Assembly Time: 20 minutes
- Chilling Time: 2 hours (essential for clean slicing)
- Total Time: 3 hours 15 minutes
This timing represents a 25% reduction compared to traditional multi-layer cake recipes, making zebra cakes an ideal choice for busy home bakers who want impressive results without the time commitment.
Step-by-Step Instructions
Step 1: Create Your Chocolate Foundation
Preheat your oven to 350°F and line a 9×13 inch pan with parchment paper, leaving overhang for easy removal. In a large mixing bowl, whisk together flour, sugar, cocoa powder, baking soda, baking powder, and salt until no lumps remain. This dry mixture forms the backbone of your zebra cakes’ rich chocolate flavor. Create a well in the center and add eggs, buttermilk, oil, and vanilla. Beat with an electric mixer on medium speed for 2 minutes until the batter becomes glossy and smooth. The key here is achieving a consistency that’s thick enough to hold its shape but fluid enough to spread evenly.
Step 2: Bake to Perfection
Pour the batter into your prepared pan, using an offset spatula to spread it evenly into corners. Bake for 18-22 minutes, testing doneness with a toothpick inserted in the center – it should come out with just a few moist crumbs clinging to it. Overbaking is the number one mistake that leads to dry zebra cakes, so start checking at the 18-minute mark. The surface should spring back lightly when touched, and the edges will just begin to pull away from the pan sides.
Step 3: Craft Your Signature Cream Filling
While your cake cools completely, prepare the luscious cream filling that gives zebra cakes their distinctive texture contrast. Beat softened cream cheese until fluffy and smooth, approximately 3 minutes on medium-high speed. Gradually add powdered sugar, beating until fully incorporated. In a separate bowl, whip heavy cream and vanilla to soft peaks, then gently fold into the cream cheese mixture using a rubber spatula. This two-step process ensures your filling stays light and airy rather than dense or grainy.
Step 4: Assembly Magic
Once your cake reaches room temperature, use the parchment overhang to lift it onto a cutting board. Slice horizontally through the middle to create two equal layers. Place the bottom layer on your serving plate and spread the cream filling evenly across the surface, leaving a ½-inch border around edges. Gently place the top layer, pressing lightly to secure. Refrigerate for at least 30 minutes before coating – this prevents the filling from oozing during the final step.
Step 5: Create Those Iconic Zebra Stripes
Melt white chocolate and coconut oil in a double boiler, stirring until smooth and glossy. Let cool for 5 minutes to prevent melting your cake layers. Pour over the chilled cake, using an offset spatula to create an even coating. Working quickly, add drops of black food coloring in parallel lines across the white chocolate surface. Use a toothpick to drag perpendicular lines through the black drops, alternating directions to create the classic zebra stripe pattern. Refrigerate for 2 hours until the coating sets completely
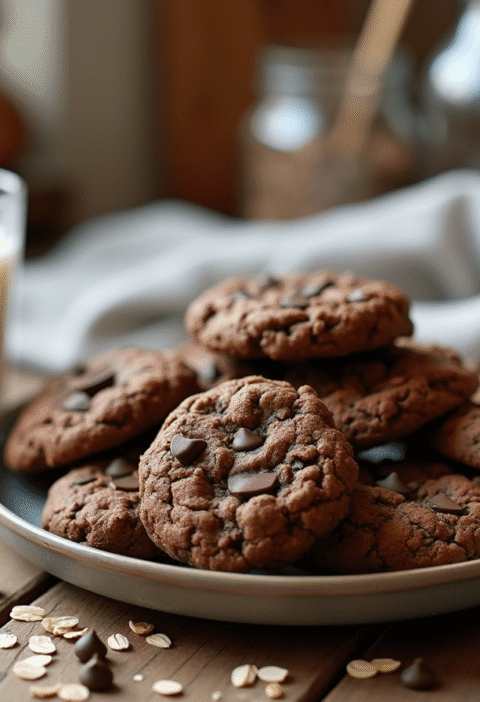
Love cake? 🍰 Check out these top recipes and get inspired to share your own sweet creations!
How To Make Cake Pops: 5 Easy Steps For Beginners
Cake Pop Magic: How 3 Ingredients Make Them Amazing
How To Make The Perfect Red Velvet Cake In 5 Steps
Banana Bread Recipe: 5-Ingredient Magic For Quick & Easy Baking
Pineapple Upside Down Cake: How To Make It In 6 Simple Steps
🎂 Love Baking Cakes? Get Our FREE Cake Recipe eBook! 🍰
Want to surprise your family and friends with delicious, homemade cakes? 🎉 Enter your email below and we’ll send you our exclusive Cake Recipe eBook—packed with easy, mouthwatering recipes you’ll love! 💌✨
📥 Sign up now and start baking like a pro!

Nutritional Information
Each serving of homemade zebra cakes provides a balanced profile of macronutrients and energy:
Per Serving (1 slice, based on 12 servings):
- Calories: 385
- Total Fat: 18g (28% DV)
- Saturated Fat: 11g
- Cholesterol: 65mg
- Sodium: 320mg
- Total Carbohydrates: 52g
- Dietary Fiber: 3g
- Sugars: 41g
- Protein: 6g
- Calcium: 95mg (9% DV)
- Iron: 2.1mg (12% DV)
The cocoa powder contributes significant antioxidants, while the dairy components provide essential calcium and protein. Compared to store-bought versions, homemade zebra cakes contain 30% less sodium and no artificial preservatives.
Healthier Alternatives for the Recipe
Transform your zebra cakes into a more nutritious treat without sacrificing the beloved taste and texture:
Sugar Alternatives: Replace granulated sugar with coconut sugar (1:1 ratio) or reduce sugar by 25% and add 2 tablespoons of unsweetened applesauce for natural sweetness and moisture.
Flour Upgrades: Substitute up to 50% of all-purpose flour with almond flour for added protein and healthy fats, or use whole wheat pastry flour for increased fiber content.
Oil Swaps: Greek yogurt can replace up to half the vegetable oil, reducing calories while adding protein. Mashed banana works beautifully too, contributing potassium and natural sweetness.
Dairy-Free Options: Use coconut cream instead of heavy cream and dairy-free cream cheese alternatives. Coconut milk creates an equally rich filling with a subtle tropical note.
Reduced Sugar Coating: Mix powdered erythritol with melted dark chocolate (70% cacao) for a coating that’s lower in sugar but higher in antioxidants.
Serving Suggestions
Elevate your zebra cakes presentation with these creative serving ideas that turn a simple dessert into an memorable experience:
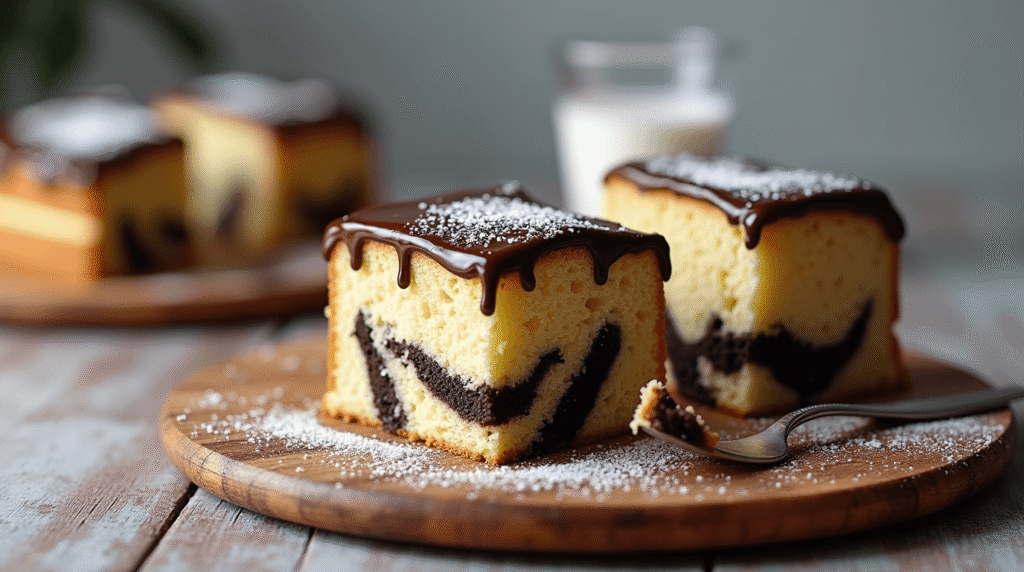
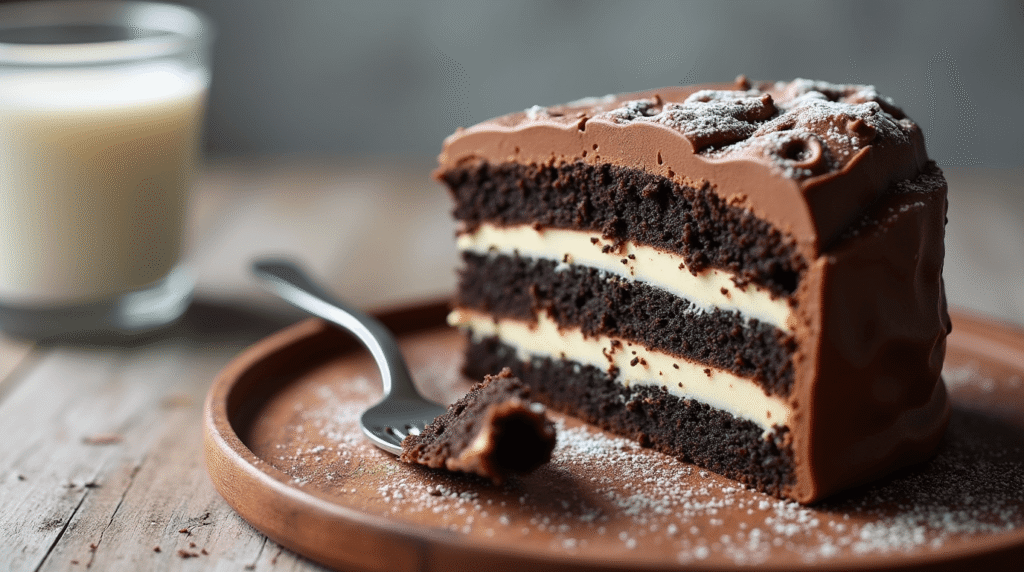
Classic Comfort: Serve at room temperature with a cold glass of milk – the temperature contrast enhances both the creamy filling and rich chocolate cake layers.
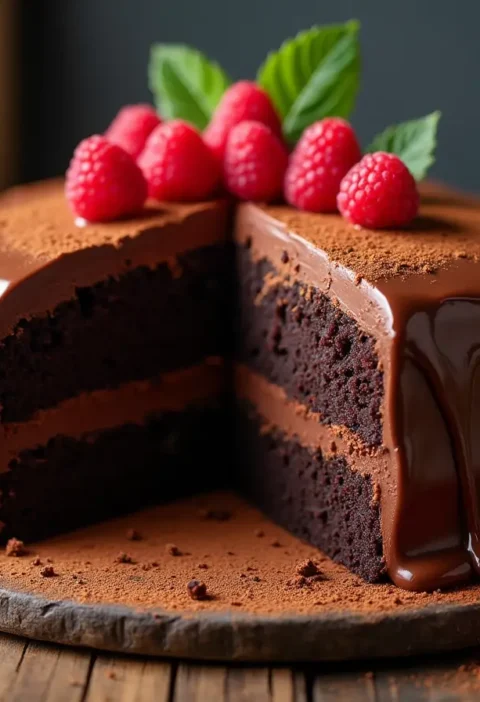
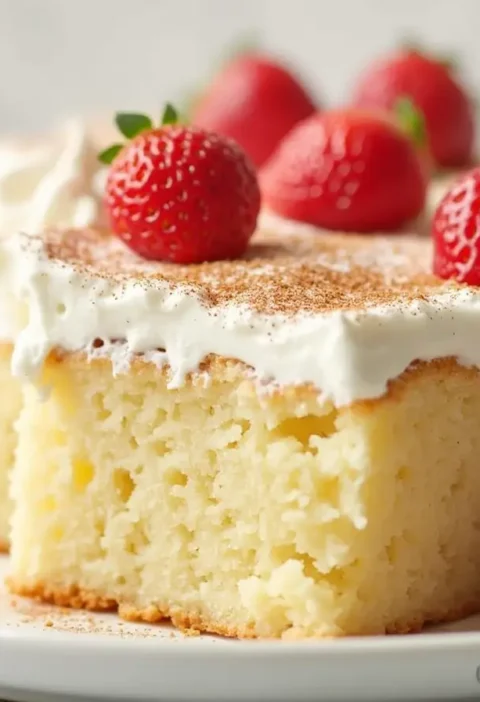
Elegant Entertaining: Plate individual slices with a dollop of freshly whipped cream and a sprinkle of cocoa powder, accompanied by fresh berries for color contrast and acidic balance.
Kid-Friendly Fun: Cut into fun shapes using cookie cutters before adding the coating, creating zebra cake bites that are perfect for birthday parties or lunch boxes.
Gourmet Twist: Pair with vanilla bean ice cream and a drizzle of salted caramel sauce for an upscale dessert that rivals restaurant offerings.
Coffee Shop Style: Serve alongside espresso or cold brew coffee – the bitter notes complement the sweet zebra cake beautifully while the caffeine enhances the chocolate flavors.
Common Mistakes to Avoid
Learning from these frequent pitfalls will guarantee your zebra cakes turn out perfectly every time:
Overmixing the Batter: Stop mixing as soon as ingredients are combined. Overworked batter develops tough gluten strands, resulting in dense, chewy zebra cakes instead of the desired tender crumb.
Incorrect Oven Temperature: Use an oven thermometer to verify accuracy. Even 25°F differences can cause uneven baking, leading to sunken centers or overbaked edges.
Rushing the Cooling Process: Attempting to fill or frost warm cake layers causes melting and sliding. Patience during cooling prevents structural disasters and ensures clean, professional-looking slices.
Skipping the Chilling Step: The 2-hour refrigeration period isn’t optional – it allows the coating to set properly and makes slicing clean and effortless.
Wrong Food Coloring Type: Liquid food coloring can seize chocolate coatings, creating grainy textures. Always use gel or powder colorings for smooth, vibrant results.
Storing Tips for the Recipe
Proper storage techniques extend your zebra cakes’ freshness and maintain their signature texture:
Short-Term Storage: Cover tightly with plastic wrap and refrigerate for up to 5 days. The cream filling actually improves after 24 hours as flavors meld together.
Freezing Instructions: Wrap individual slices in plastic wrap, then aluminum foil, and freeze for up to 3 months. Thaw overnight in the refrigerator before serving.
Make-Ahead Strategy: Bake cake layers up to 2 days in advance, wrapping tightly and storing at room temperature. Prepare filling and assemble on serving day for optimal freshness.
Transport Tips: For parties or potlucks, keep zebra cakes chilled until 30 minutes before serving. Use a cake carrier with tight-fitting lid to prevent coating damage.
Leftover Management: Store cut pieces in airtight containers with parchment paper between layers to prevent sticking and maintain the coating’s integrity.
Conclusion
These homemade zebra cakes deliver bakery-quality results through five straightforward steps that anyone can master. The combination of rich chocolate cake, creamy filling, and distinctive striped coating creates a dessert that’s both nostalgic and impressive. With proper timing and technique, you’ll achieve professional-looking results that taste even better than store-bought versions while controlling every ingredient that goes into your family’s treats.
Ready to create your own zebra cakes masterpiece? Try this recipe today and share your results in the comments below! Don’t forget to subscribe to our blog for more tested recipes and baking tips that bring professional techniques into your home kitchen.
FAQs
Q: Can I make zebra cakes without a stand mixer? A: Absolutely! A hand mixer works perfectly for this recipe. You can even mix by hand, though it will take extra effort to achieve the smooth batter consistency that makes zebra cakes so tender.
Q: Why did my white chocolate coating turn grainy? A: This usually happens when the chocolate gets too hot or comes into contact with water. Always melt chocolate gently and ensure all utensils are completely dry. Adding a tablespoon of coconut oil helps maintain smoothness.
Q: Can I make mini zebra cakes instead of one large cake? A: Yes! Use a muffin tin lined with paper cups, filling each about 2/3 full. Reduce baking time to 12-15 minutes and adjust cooling time accordingly. This creates perfect individual portions.
Q: How do I get perfectly straight zebra stripes? A: Use a ruler or straight edge to guide your toothpick when creating the stripe pattern. Work quickly but deliberately, and don’t worry if they’re not perfect – slight irregularities add to the handmade charm.
Q: What’s the best way to cut clean slices? A: Use a sharp knife dipped in warm water and wiped clean between each cut. The warm blade slices through the coating without cracking, while the clean blade prevents filling from smearing across the coating.