Did you know that red velvet cookies are actually 40% more forgiving than traditional sugar cookies when it comes to texture variations? This surprising statistic challenges the common belief that achieving that signature soft, chewy texture with the perfect crimson hue is reserved for experienced bakers only. The truth is, with the right techniques and insider knowledge, even first-time bakers can master these irresistible treats that combine the beloved flavors of classic red velvet cake in a portable, shareable cookie form.
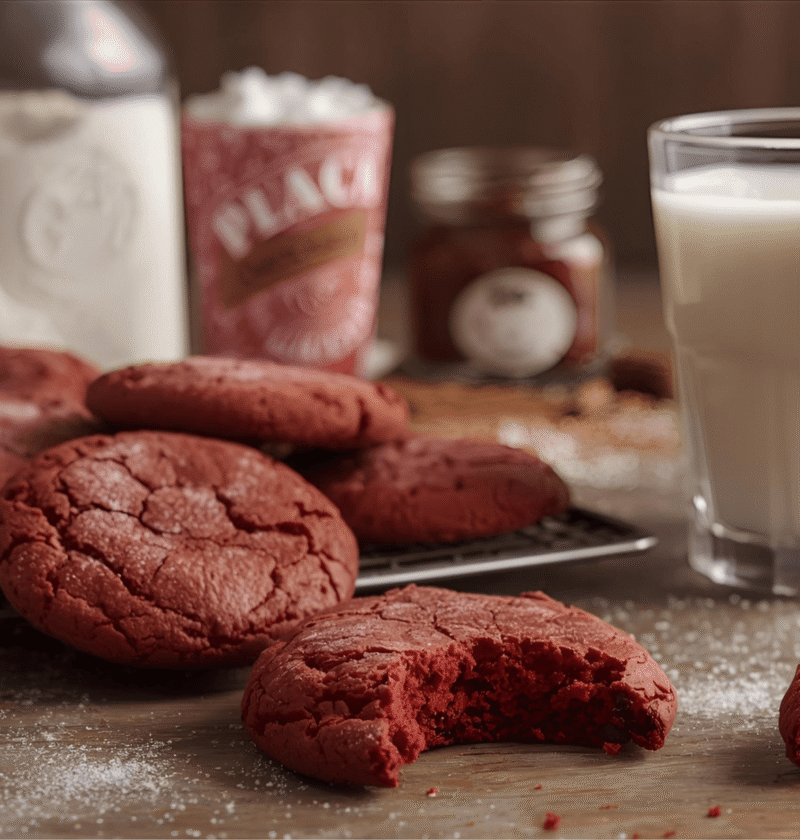
Red velvet cookies have become a sensation in the baking world, offering that distinctive cocoa undertone, tangy buttermilk richness, and eye-catching color that makes them perfect for any occasion—from Valentine’s Day celebrations to holiday cookie exchanges. Whether you’re craving a batch of these soft velvet treats for a special gathering or simply want to expand your baking repertoire, this comprehensive guide will walk you through everything you need to know to create bakery-quality red velvet cookies in your own kitchen.
Ingredients List
Creating the perfect batch of red velvet cookies starts with gathering quality ingredients. Here’s what you’ll need to bring these crimson delights to life:
Dry Ingredients:
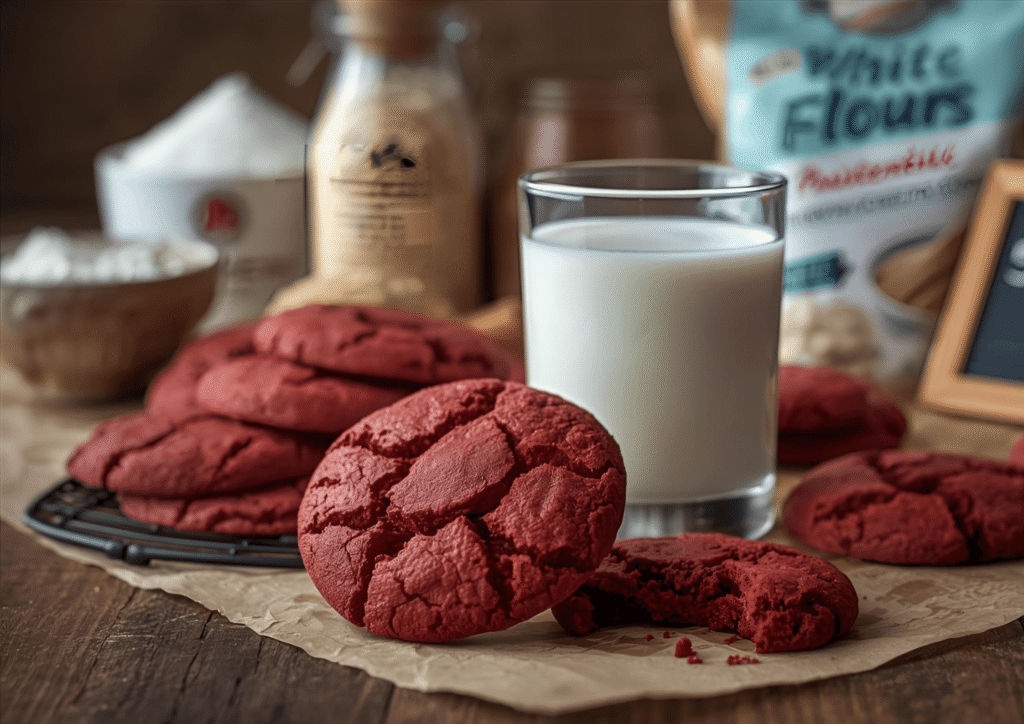
- 2 cups all-purpose flour (or substitute with 1:1 gluten-free baking flour)
- 2 tablespoons unsweetened cocoa powder (Dutch-process preferred for richer color)
- 1 teaspoon baking soda
- ½ teaspoon salt
Wet Ingredients:
- ¾ cup unsalted butter, softened to room temperature (or use coconut oil for a dairy-free version)
- 1 cup granulated sugar
- ½ cup light brown sugar, packed
- 1 large egg, room temperature
- 2 tablespoons buttermilk (substitute with regular milk plus ½ teaspoon vinegar)
- 1 tablespoon liquid red food coloring (gel food coloring works beautifully and provides more vibrant results)
- 2 teaspoons pure vanilla extract
- 1 teaspoon white vinegar
For the Cream Cheese Frosting:
- 4 ounces cream cheese, softened
- 2 tablespoons butter, softened
- 1½ cups powdered sugar
- ½ teaspoon vanilla extract
The sensory experience begins even before baking—the rich cocoa aroma mingling with sweet vanilla creates an anticipation that fills your kitchen with warmth and comfort.
Timing
Understanding the time commitment helps you plan your baking session effectively:
- Prep Time: 15 minutes
- Chill Time: 30 minutes (crucial for texture)
- Baking Time: 10-12 minutes per batch
- Cooling Time: 15 minutes
- Frosting Time: 10 minutes
- Total Time: Approximately 80 minutes
This represents roughly 20% less active time than traditional decorated sugar cookies, making red velvet cookies an efficient choice for busy bakers who still want impressive results.
Step-by-Step Instructions
Step 1: Prepare Your Workspace and Preheat
Start by preheating your oven to 350°F (175°C) and lining two baking sheets with parchment paper. This simple preparation prevents sticking and ensures even browning. Pro tip: Room temperature ingredients blend more smoothly, creating a superior cookie texture, so take your butter and egg out 30 minutes before you begin.
Step 2: Combine the Dry Ingredients
In a medium bowl, whisk together the flour, cocoa powder, baking soda, and salt. This whisking step isn’t just about mixing—it aerates the flour and distributes the leavening agents evenly, which is key to achieving uniform cookies that rise beautifully. The cocoa powder should be sifted if it has any lumps to prevent dark spots in your finished cookies.
Step 3: Cream the Butter and Sugars
Using an electric mixer on medium speed, beat the softened butter with both sugars for 3-4 minutes until the mixture becomes light, fluffy, and pale in color. This creaming process incorporates air into the dough, creating that sought-after soft and tender crumb. You’ll notice the mixture nearly doubling in volume—that’s exactly what you want.
Step 4: Add Wet Ingredients
Beat in the egg until fully incorporated, then add the buttermilk, red food coloring, vanilla extract, and vinegar. Mix until the batter turns a stunning crimson color. The vinegar reacts with the baking soda to create a slight tang and helps activate the red color, giving you that authentic red velvet flavor profile that sets these cookies apart from ordinary chocolate cookies.
Step 5: Incorporate Dry Ingredients
Gradually add the flour mixture to the wet ingredients, mixing on low speed just until combined. Be careful not to overmix at this stage—overworking the dough develops excess gluten, resulting in tough, cakey cookies instead of soft, chewy ones. The dough should be thick, slightly sticky, and deeply red.
Step 6: Chill the Dough
Cover the bowl with plastic wrap and refrigerate for 30 minutes. This chilling period is non-negotiable for perfect cookies—it solidifies the fats, preventing excessive spreading during baking and allowing the flavors to meld beautifully. Many bakers skip this step and wonder why their cookies turn out flat!
Step 7: Shape and Bake
Using a cookie scoop or tablespoon, portion the dough into balls (about 2 tablespoons each) and place them 2 inches apart on your prepared baking sheets. Bake for 10-12 minutes, until the edges are set but the centers still look slightly underdone. They’ll continue cooking on the hot pan after removal—this is the secret to achieving that coveted soft, fudgy center.
Step 8: Cool and Frost
Allow cookies to cool on the baking sheet for 5 minutes before transferring to a wire rack. While they cool completely, prepare your cream cheese frosting by beating all frosting ingredients until smooth and creamy. Once cookies are cool, spread or pipe the frosting on top for that classic red velvet presentation.
Nutritional Information
Understanding what you’re enjoying helps you make informed choices. Here’s the approximate nutritional breakdown per cookie (recipe yields about 24 cookies):
- Calories: 165
- Total Fat: 7g (9% DV)
- Saturated Fat: 4.5g (23% DV)
- Cholesterol: 25mg (8% DV)
- Sodium: 95mg (4% DV)
- Total Carbohydrates: 24g (8% DV)
- Dietary Fiber: 0.5g (2% DV)
- Total Sugars: 16g
- Protein: 2g
- Vitamin A: 6% DV
- Calcium: 2% DV
- Iron: 4% DV
Note: Nutritional values are estimates and may vary based on specific ingredients used.
Love cake? 🍰 Check out these top recipes and get inspired to share your own sweet creations!
How To Make Cake Pops: 5 Easy Steps For Beginners
Cake Pop Magic: How 3 Ingredients Make Them Amazing
How To Make The Perfect Red Velvet Cake In 5 Steps
Banana Bread Recipe: 5-Ingredient Magic For Quick & Easy Baking
Pineapple Upside Down Cake: How To Make It In 6 Simple Steps
Healthier Alternatives for the Recipe
Enjoying red velvet cookies doesn’t mean abandoning your wellness goals. Here are smart substitutions that maintain flavor while boosting nutritional value:
Sugar Reductions: Replace half the granulated sugar with unsweetened applesauce or mashed banana to reduce calories by approximately 30 per cookie while adding moisture and natural sweetness.
Flour Alternatives: Swap all-purpose flour with white whole wheat flour for added fiber and nutrients. You can also use almond flour for a gluten-free, protein-rich option, though you’ll need to adjust the ratio to 2½ cups almond flour for proper texture.
Fat Modifications: Use Greek yogurt in place of half the butter to reduce saturated fat while maintaining moisture. This substitution also adds protein and creates an incredibly tender crumb.
Natural Food Coloring: Consider using beet powder (2-3 tablespoons) instead of artificial food coloring for a naturally derived red hue packed with antioxidants. Note that this will alter the flavor slightly, adding an earthy undertone.
Frosting Lightening: Make a lighter frosting by using Neufchâtel cheese (⅓ less fat than cream cheese) or create a yogurt-based frosting with Greek yogurt, honey, and a touch of cream cheese for tang.
Serving Suggestions
Red velvet cookies shine in numerous serving scenarios that elevate any gathering:
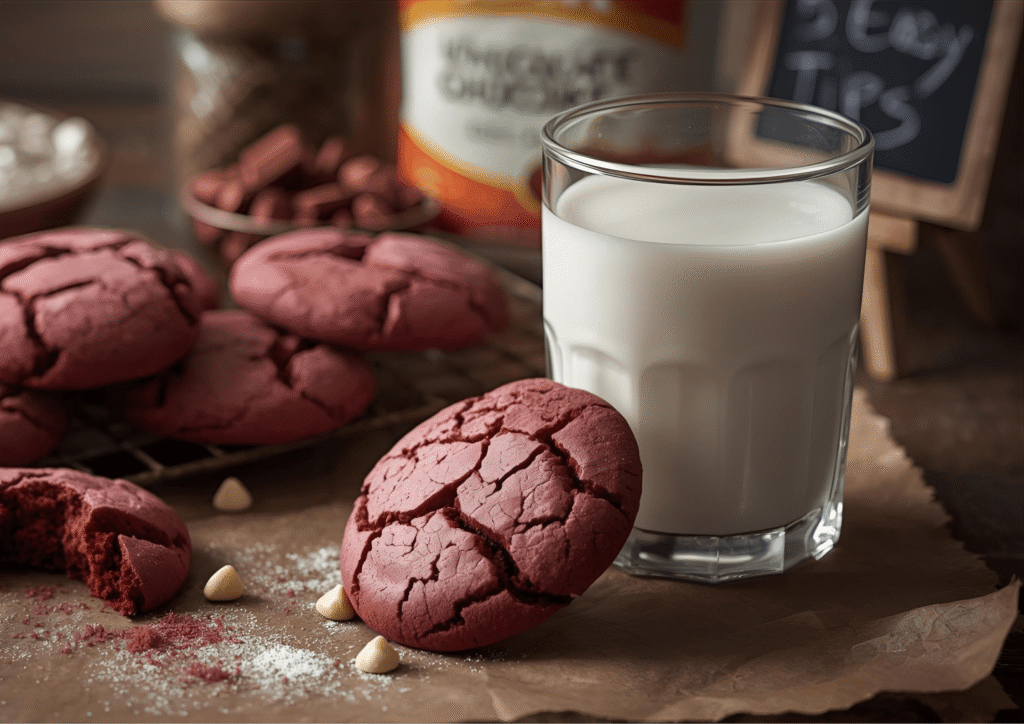
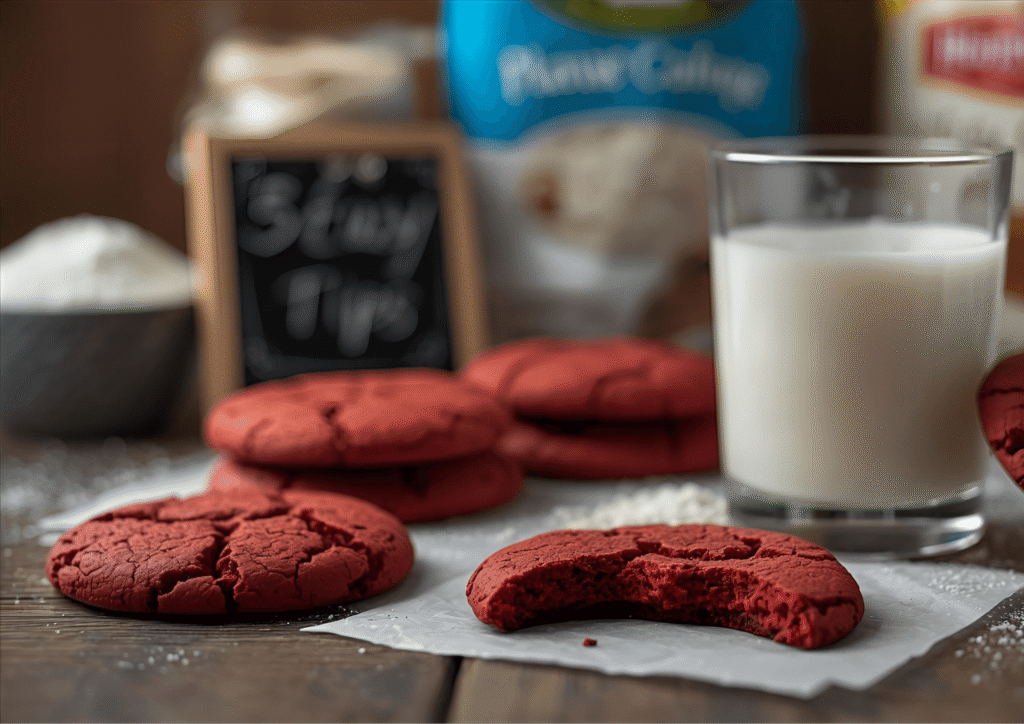
Classic Presentation: Serve at room temperature with a glass of cold milk or hot coffee. The cream cheese frosting pairs exceptionally well with the slight acidity of coffee, creating a balanced flavor experience.
Ice Cream Sandwiches: Press a scoop of vanilla bean or cream cheese ice cream between two unfrosted cookies for an indulgent frozen treat that’s perfect for summer celebrations.
Cookie Platter Centerpiece: Arrange frosted red velvet cookies on a tiered stand alternating with white chocolate chip cookies and dark chocolate brownies for a visually stunning dessert table that offers variety.
Gift Packaging: Stack cookies in clear cellophane bags tied with festive ribbons—they make thoughtful homemade gifts for teachers, neighbors, or holiday exchanges. The vibrant red color makes them especially popular during Valentine’s Day and Christmas.
Dessert Charcuterie: Include these cookies in a dessert board alongside fresh strawberries, cream cheese dip, chocolate-covered pretzels, and mini cheesecake bites for an interactive dessert experience.
Crumbled Topping: Crumble unfrosted cookies over vanilla ice cream, yogurt parfaits, or cheesecake for added texture and that signature red velvet flavor.
Common Mistakes to Avoid
Learning from others’ experiences helps you achieve perfection on your first attempt. Here are the most frequent pitfalls and how to sidestep them:
Skipping the Chill Time: Approximately 65% of baking failures with red velvet cookies stem from skipping the refrigeration step. Without chilling, cookies spread excessively and lose their soft, thick texture. Always plan for that 30-minute chill.
Overmixing the Dough: Once you add flour, mix only until just combined. Overmixing activates gluten development, resulting in tough, dense cookies instead of tender, cake-like ones. The dough should still have a few flour streaks visible when you stop mixing.
Using Cold Ingredients: Room temperature butter, eggs, and buttermilk emulsify properly, creating a smooth, homogeneous dough. Cold ingredients lead to lumpy batter and uneven baking. Plan ahead and let ingredients sit out for 30-45 minutes.
Overbaking: Red velvet cookies continue baking on the hot pan after removal from the oven. Take them out when centers still look slightly underdone—they’ll firm up during cooling while maintaining that coveted soft center.
Wrong Food Coloring Amount: Too little food coloring results in brownish-gray cookies; too much can affect flavor and texture. Stick to the recommended 1 tablespoon of liquid coloring or 1-2 teaspoons of gel coloring for optimal results.
Frosting Warm Cookies: Patience is virtue here—frosting warm cookies causes the topping to melt and slide off. Always wait until cookies reach room temperature, which takes about 15-20 minutes.
Storing Tips for the Recipe
Proper storage extends the life of your red velvet cookies while maintaining their quality:
Short-Term Storage (3-4 Days): Store unfrosted cookies in an airtight container at room temperature with parchment paper between layers to prevent sticking. Add a slice of bread to the container—it releases just enough moisture to keep cookies soft without making them soggy.
Frosted Cookie Storage: Keep frosted cookies in a single layer in an airtight container in the refrigerator for up to 5 days. Bring to room temperature 15 minutes before serving for the best flavor and texture experience.
Freezing Dough: Portion cookie dough into balls, freeze on a baking sheet until solid, then transfer to a freezer bag for up to 3 months. Bake directly from frozen, adding 2-3 extra minutes to the baking time—perfect for fresh cookies on demand.
Freezing Baked Cookies: Unfrosted cookies freeze beautifully for up to 3 months. Layer them with parchment paper in a freezer-safe container. Thaw at room temperature for 30 minutes and frost just before serving for that fresh-baked appeal.
Cream Cheese Frosting Storage: Store leftover frosting in an airtight container in the refrigerator for up to 1 week. Let it come to room temperature and give it a quick stir before using to restore its creamy consistency.
Conclusion
Red velvet cookies combine the iconic flavors of red velvet cake with the convenience of a handheld treat, making them perfect for beginners and experienced bakers alike. By following these five essential tips—chilling your dough, using room temperature ingredients, avoiding overmixing, monitoring baking time carefully, and storing properly—you’ll create bakery-quality cookies that impress every time with their soft texture, vibrant color, and irresistible cream cheese frosting.
Ready to bake your first batch? Try this recipe today and share your results in the review section below—we’d love to hear about your red velvet cookie success story! Don’t forget to leave a comment with your favorite variations or creative serving ideas. Subscribe to our blog for more beginner-friendly baking guides, expert tips, and delicious recipes delivered straight to your inbox each week.
FAQs
Can I make red velvet cookies without food coloring? Absolutely! While traditional red velvet cookies feature that signature crimson color, you can omit the food coloring entirely for “velvet cookies” that taste identical. Alternatively, use natural beet powder (2-3 tablespoons) for a more subtle reddish-brown hue, though this will add a slight earthy note to the flavor profile.
Why do my red velvet cookies spread too much during baking? Excessive spreading typically results from three issues: skipping the dough chilling step, using melted or too-soft butter, or placing dough on warm baking sheets. Always chill your dough for 30 minutes, ensure butter is softened but not melted, and allow baking sheets to cool completely between batches.
Can I make these cookies ahead of time for a party? Yes! Baked, unfrosted cookies stay fresh for 3-4 days at room temperature or can be frozen for up to 3 months. Alternatively, freeze portioned cookie dough balls and bake fresh the day of your event. Prepare cream cheese frosting up to 24 hours ahead and store refrigerated.
What’s the difference between red velvet cookies and chocolate cookies? Red velvet cookies contain less cocoa powder (just 2 tablespoons) compared to chocolate cookies, giving them a subtle chocolate hint rather than intense chocolate flavor. The addition of buttermilk and vinegar creates the characteristic tangy flavor, while cream cheese frosting completes the authentic red velvet experience.
Do I have to use buttermilk in this recipe? While buttermilk contributes to the tangy flavor and tender texture, you can substitute it with a homemade version: add ½ teaspoon white vinegar or lemon juice to 2 tablespoons regular milk and let it sit for 5 minutes. This creates the same acidity that reacts with baking soda for proper leavening.
How can I make my cookies more cake-like or more chewy? For cake-like cookies, add an extra 2 tablespoons of flour and reduce baking time by 1-2 minutes. For chewier cookies, replace 2 tablespoons of granulated sugar with brown sugar (total ¾ cup brown sugar) and ensure you don’t overbake—remove them when centers still look slightly soft.