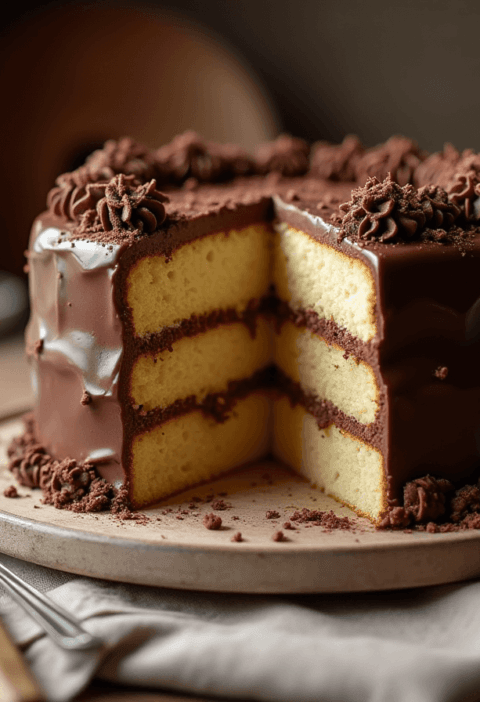
How to Make the Perfect Ice Cream Cake in 5 Easy Steps
Introduction: The Ultimate Frozen Delight
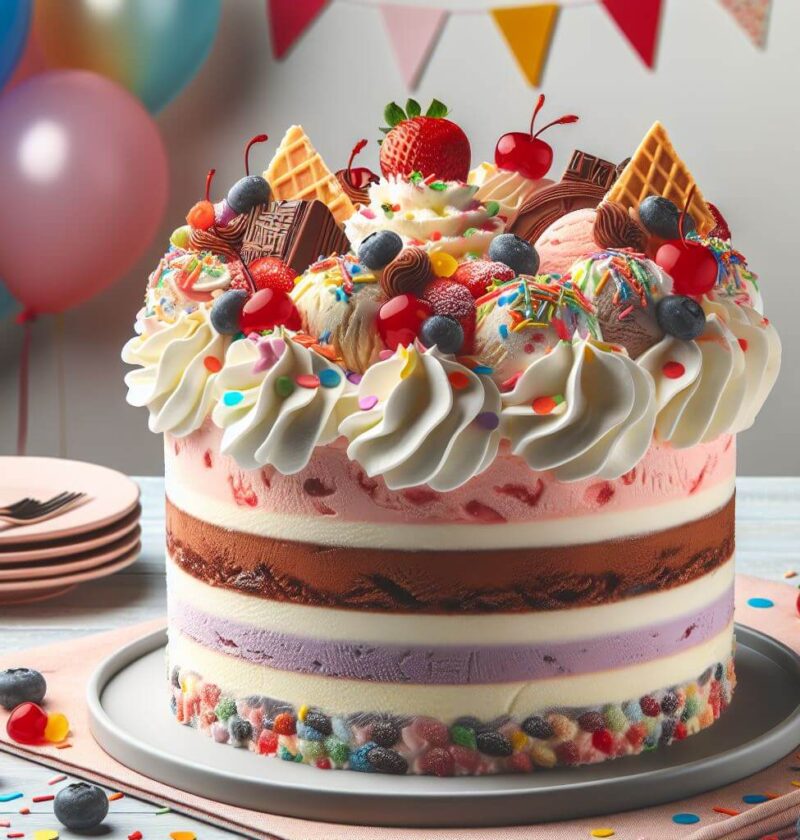
Imagine slicing into a beautifully layered ice cream cake—smooth, creamy, and bursting with flavor. Whether it’s a birthday, a summer party, or just a craving for something sweet, making an ice cream cake at home is a rewarding and surprisingly simple process. Unlike store-bought versions, a homemade ice cream cake allows you to customize every layer to your preference. In this guide, you’ll learn how to craft the perfect ice cream cake in just five simple steps.
Step 1: Gather Your Ingredients and Tools
Essential Ingredients
| Ingredient | Quantity |
|---|---|
| Your favorite ice cream flavors | 2-3 pints |
| Cake base (sponge, cookies, brownies) | 1 layer |
| Whipped cream or frosting | 1 cup |
| Chocolate syrup, caramel, or fruit puree | As needed |
| Sprinkles, nuts, or candies | For topping |
Tools You’ll Need
- Springform pan (makes it easier to remove the cake)
- Offset spatula (for smooth layering)
- Parchment paper (to prevent sticking)
- Mixing bowls
- Freezer-safe serving plate
Having all these ready before starting ensures a smooth and enjoyable cake-making process.
Step 2: Prepare the Cake Base
A great ice cream cake starts with a solid foundation.
- Choose Your Base: You can use a classic sponge cake, cookie crumbs, or a chewy brownie layer. If you prefer a crunchy texture, crushed cookies or graham crackers mixed with melted butter work well.
- Cut to Fit: Trim the cake to fit snugly in your springform pan.
- Freeze It: Place the base in the freezer for at least 30 minutes to firm up before adding the ice cream layers.
This step helps prevent the base from becoming soggy once the ice cream is added.
Step 3: Layer the Ice Cream
The secret to a perfectly layered ice cream cake is patience and precision.
- Soften the Ice Cream: Leave the ice cream at room temperature for about 10 minutes until it becomes spreadable but not melted.
- Spread Evenly: Use an offset spatula to evenly spread the first layer over the frozen cake base.
- Add Another Flavor: If you’re using multiple flavors, freeze each layer for at least an hour before adding the next one. This prevents them from blending together.
- Smooth It Out: Once all layers are added, smooth the top and freeze the cake for at least 4 hours or overnight for the best results.
Step 4: Decorate Like a Pro
Now comes the fun part—decorating!
- Whipped Cream Frosting: Spread a thick layer of whipped cream around the cake for a classic look.
- Drizzle with Sauces: Chocolate ganache, caramel, or fruit purees add extra flavor and an elegant touch.
- Add Toppings: Get creative with crushed cookies, sprinkles, chopped nuts, or even fresh fruit.
- Pipe Designs: Use a piping bag to add swirls or borders around the cake for a bakery-style finish.
Step 5: Freeze and Serve
Before digging in, follow these final steps:
- Final Freeze: Let the decorated cake set in the freezer for at least 4 hours, or preferably overnight.
- Remove from Pan: Run a warm knife around the edges before releasing from the springform pan.
- Slice with Ease: Use a sharp knife dipped in warm water for clean cuts.
Tips for the Perfect Ice Cream Cake
- Work Quickly: Ice cream melts fast, so keep your tools and workspace cool.
- Use High-Quality Ice Cream: The better the quality, the creamier your cake will be.
- Add Crunch: A layer of crushed cookies or toffee bits between layers adds a satisfying texture.
- Store Properly: Keep the cake covered in the freezer to avoid ice crystals forming on the surface.
FAQs About Ice Cream Cake
How do I prevent ice cream from melting too quickly?
Keep each layer frozen before adding the next, and work in a cool kitchen. You can also chill your mixing bowls and spatula for better results.
Can I use store-bought cake layers?
Yes! Pre-made cake layers make the process even easier and quicker.
How long does an ice cream cake last in the freezer?
If stored properly in an airtight container, it stays fresh for up to a week.
What’s the best way to cut an ice cream cake?
Dip a sharp knife in warm water, wipe it dry, and slice. Repeat between cuts for clean slices.
Can I make an ice cream cake without a springform pan?
Yes! You can use a regular cake pan lined with plastic wrap for easy removal.
Conclusion: Enjoy Your Homemade Ice Cream Cake!
Now that you’ve mastered the art of making an ice cream cake, it’s time to enjoy your delicious creation. Whether for a birthday, a summer barbecue, or just because, this frozen treat will impress your family and friends. Try experimenting with different flavors, toppings, and decorations to make it uniquely yours.
Ready to create your own masterpiece? Get started today and share your favorite combinations with us in the comments!
Pumpkin Cake: How to Bake in 3 Steps (Beginner’s Guide)
Cinnamon Apple Cake: How to Bake the Perfect Fall Dessert

