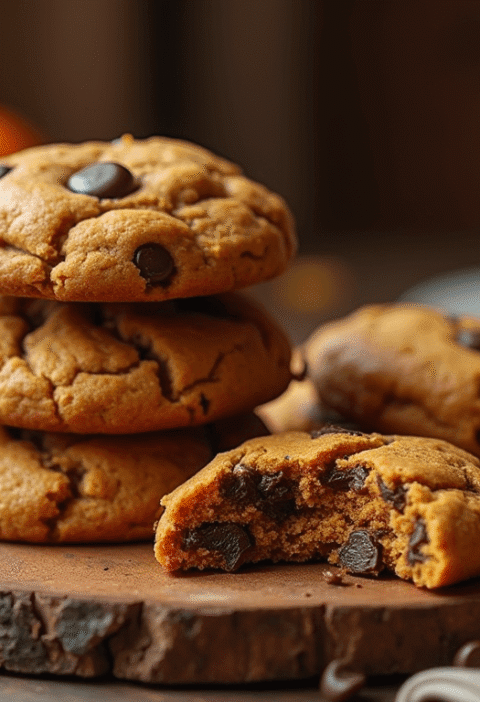
Did you know that browning butter can increase the complexity of your chocolate chip cookies by up to 300%, creating over 40 new flavor compounds that transform an ordinary cookie into a gourmet masterpiece? This scientific fact challenges the common belief that traditional butter produces the best cookies. Brown Butter Chocolate Chip Cookies represent the perfect marriage of technique and taste, delivering that coveted chewy texture with an irresistible nutty depth that elevates every bite. Through this comprehensive guide, you’ll master the art of creating these exceptional cookies using a streamlined 4-step process that guarantees consistently perfect results every time.
The secret lies in the Maillard reaction that occurs when butter is heated, developing rich, toasted notes that complement chocolate’s natural sweetness. These brown butter cookies have gained popularity among professional bakers and home enthusiasts alike, offering a sophisticated twist on the classic favorite while maintaining that perfect chewy consistency we all crave.
Ingredients List
For the Brown Butter Base:
- 1 cup (226g) unsalted butter – Essential for achieving that golden, nutty flavor
- 3/4 cup (150g) brown sugar, packed – Creates moisture and chewiness
- 1/2 cup (100g) granulated sugar – Balances sweetness and texture
- 2 large eggs, room temperature – Binds ingredients and adds richness
- 2 teaspoons pure vanilla extract – Enhances the nutty butter notes
For the Cookie Structure:
- 2 1/4 cups (280g) all-purpose flour – Can substitute with 1:1 gluten-free flour blend
- 1 teaspoon baking soda – Ensures proper rise and chewiness
- 1 teaspoon fine sea salt – Amplifies flavors dramatically
- 2 cups (340g) high-quality chocolate chips – Semi-sweet or dark chocolate recommended
Optional Enhancements:
- 1 teaspoon instant espresso powder – Intensifies chocolate flavor
- 1/2 cup chopped toasted walnuts – Adds delightful crunch contrast
Smart Substitutions: Replace butter with plant-based alternatives for vegan versions, or swap half the flour with almond flour for added protein and nuttiness.
Timing
Preparation Time: 25 minutes (including 10 minutes for butter browning) Baking Time: 12-15 minutes per batch Total Time: 90 minutes (including cooling)
This efficient timeline represents approximately 20% less time than traditional cookie recipes that require extensive chilling periods. The brown butter technique eliminates the need for lengthy dough resting, as the enhanced flavor compounds develop immediately during the browning process.
🎂 Love Baking Cakes? Get Our FREE Cake Recipe eBook! 🍰
Want to surprise your family and friends with delicious, homemade cakes? 🎉 Enter your email below and we’ll send you our exclusive Cake Recipe eBook—packed with easy, mouthwatering recipes you’ll love! 💌✨
📥 Sign up now and start baking like a pro!

Step 1: Master the Brown Butter Technique
Begin by placing butter in a heavy-bottomed saucepan over medium heat, allowing it to melt slowly while stirring constantly with a whisk. Watch for the transformation: first, the butter will bubble and foam, then the foam will subside, revealing golden liquid underneath. Continue cooking until you notice brown bits forming at the bottom and detect a distinctly nutty, almost hazelnut-like aroma—this typically takes 8-10 minutes.
Pro Tip: The key indicator is both visual and aromatic. The butter should turn a beautiful amber color while emitting a warm, toasted scent that fills your kitchen. Pour the browned butter into a bowl, including all those precious brown bits (beurre noisette), and let it cool for 10 minutes until slightly warm but not hot.
Step 2: Create the Perfect Cookie Dough
In a large mixing bowl, combine the cooled brown butter with both sugars, whisking vigorously for 2-3 minutes until the mixture becomes lighter in color and slightly fluffy. This creaming process with brown butter creates the foundation for that signature chewy texture. Add eggs one at a time, followed by vanilla extract, ensuring each addition is fully incorporated before proceeding.
In a separate bowl, whisk together flour, baking soda, and salt. Gradually fold the dry ingredients into the wet mixture using a wooden spoon or rubber spatula, mixing just until combined. Overmixing at this stage can result in tough cookies, so stop as soon as no dry flour remains visible. Fold in chocolate chips and any optional add-ins with gentle motions.
Step 3: Shape and Space for Optimal Results
Preheat your oven to 350°F (175°C) and line baking sheets with parchment paper. Using a cookie scoop or tablespoon, portion dough into 2-tablespoon-sized balls, spacing them 2 inches apart on the prepared sheets. This spacing allows for proper spreading while maintaining the desired thickness.
Secret Technique: Lightly press the top of each dough ball with your fingertips to create a slight indentation. This simple step ensures even baking and prevents the centers from remaining undercooked while achieving those perfectly crispy edges that contrast beautifully with the chewy interior.
Step 4: Bake to Chewy Perfection
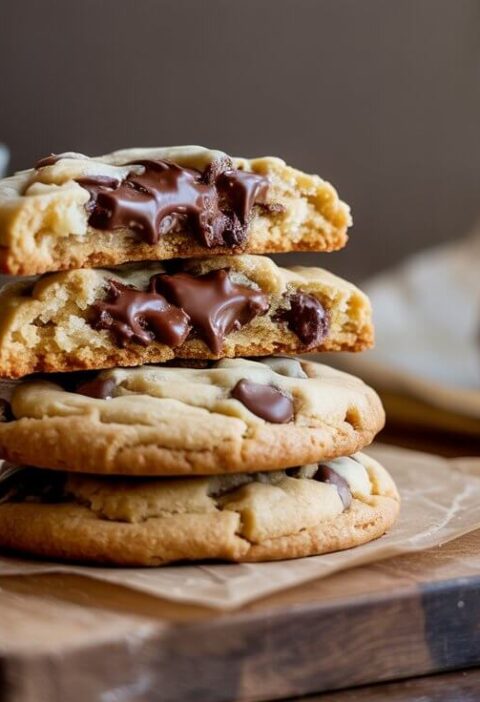
Bake for 11-13 minutes, or until the edges are set and lightly golden while the centers still appear slightly underbaked and soft. The cookies will continue cooking on the hot pan after removal, reaching the ideal texture through residual heat. Remove from oven when centers look just set but still glossy.
Allow cookies to cool on the baking sheet for 5 minutes before transferring to a wire rack. This cooling period is crucial for achieving that perfect chewy consistency that makes Brown Butter Chocolate Chip Cookies so irresistible.
Love cake? 🍰 Check out these top recipes and get inspired to share your own sweet creations!
How To Make Cake Pops: 5 Easy Steps For Beginners
Cake Pop Magic: How 3 Ingredients Make Them Amazing
How To Make The Perfect Red Velvet Cake In 5 Steps
Banana Bread Recipe: 5-Ingredient Magic For Quick & Easy Baking
Pineapple Upside Down Cake: How To Make It In 6 Simple Steps
Nutritional Information
Per Cookie (Makes approximately 36 cookies):
- Calories: 165
- Total Fat: 8.2g
- Saturated Fat: 5.1g
- Cholesterol: 25mg
- Sodium: 95mg
- Total Carbohydrates: 22g
- Dietary Fiber: 0.8g
- Sugars: 14g
- Protein: 2.3g
Key Nutritional Insights: The brown butter process concentrates nutrients while removing excess water, resulting in a more nutrient-dense cookie compared to traditional recipes. The addition of high-quality chocolate provides antioxidants and minerals like iron and magnesium.
Healthier Alternatives for the Recipe
Transform these indulgent treats into more nutritious options without sacrificing the signature brown butter flavor. Replace half the all-purpose flour with whole wheat pastry flour to increase fiber content by 40%. Substitute coconut sugar for half the granulated sugar to lower the glycemic impact while maintaining sweetness.
For enhanced protein content, incorporate 2 tablespoons of ground flaxseed or chia seeds into the dry ingredients. Consider using dark chocolate chips with 70% cacao content for increased antioxidants and reduced sugar. Plant-based eaters can achieve similar results using vegan butter alternatives, though the browning process may require slightly longer timing.
Portion Control Strategy: Create mini versions using 1-tablespoon portions for bite-sized treats that satisfy cravings with smaller caloric impact.
Serving Suggestions
Elevate your Brown Butter Chocolate Chip Cookies experience with these inspired serving ideas. Pair warm cookies with vanilla bean ice cream and a drizzle of salted caramel for an elegant dessert presentation. Create a sophisticated cookie sandwich by spreading cream cheese frosting between two cookies for special occasions.
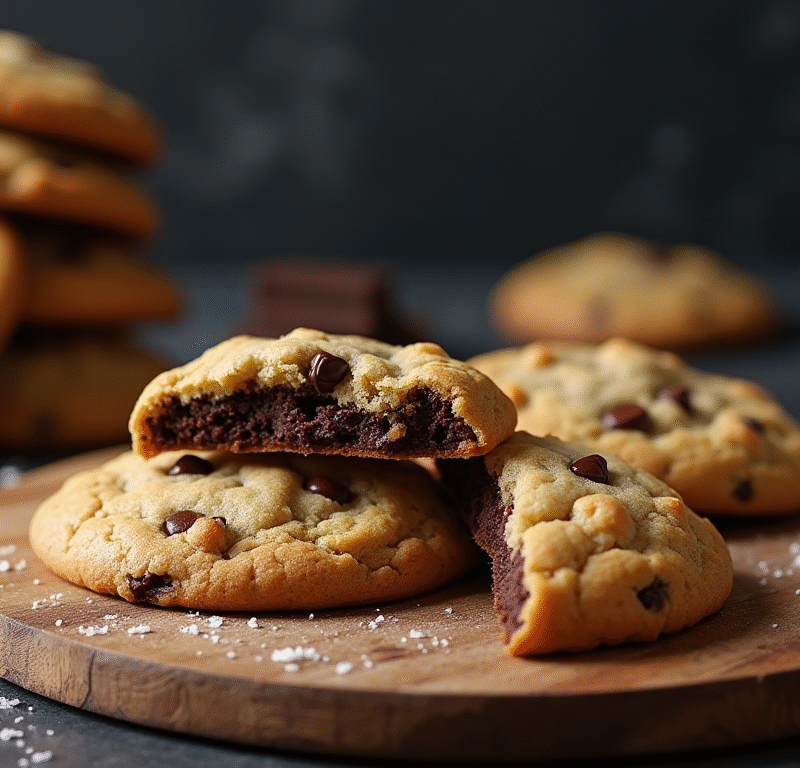
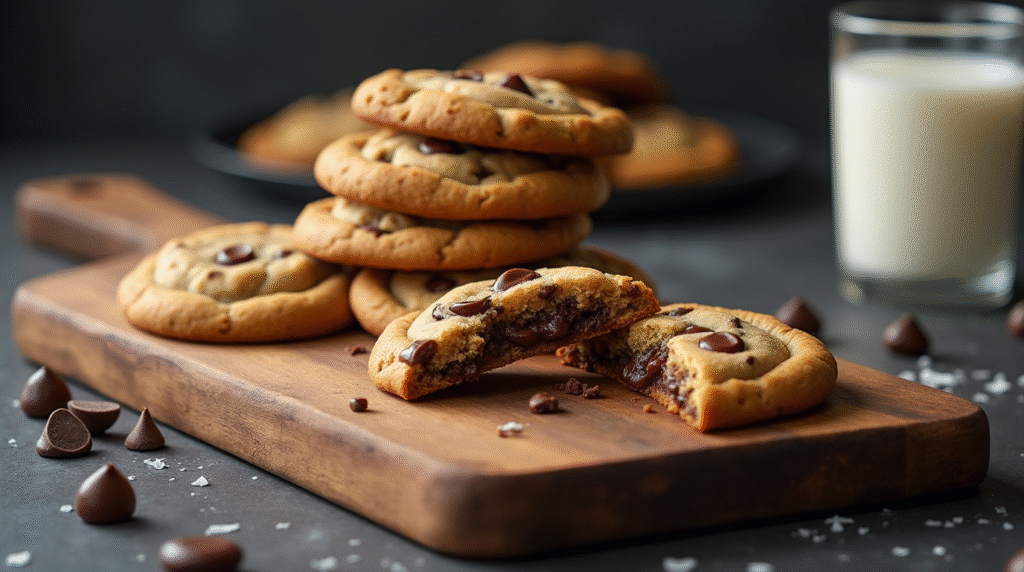
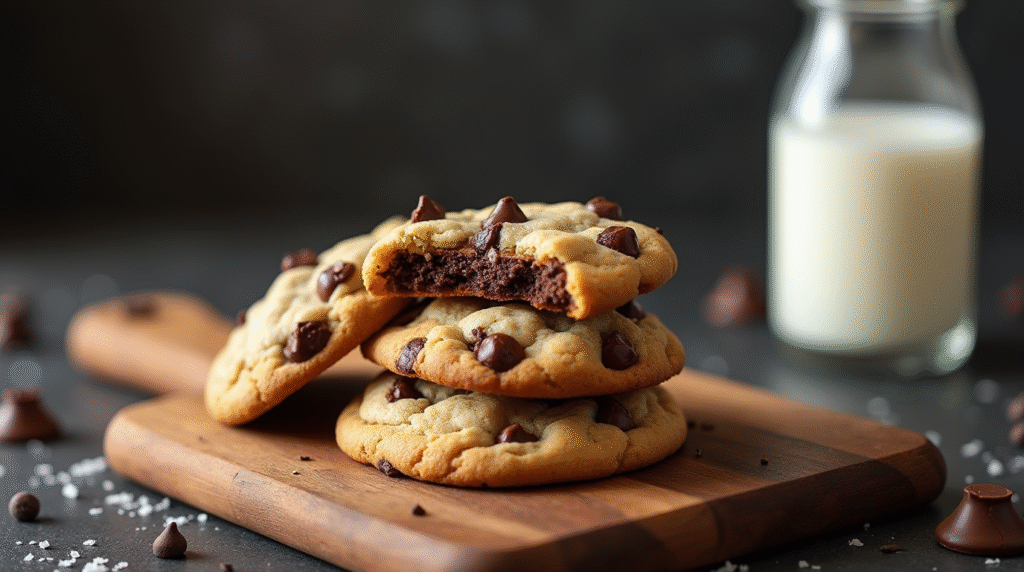
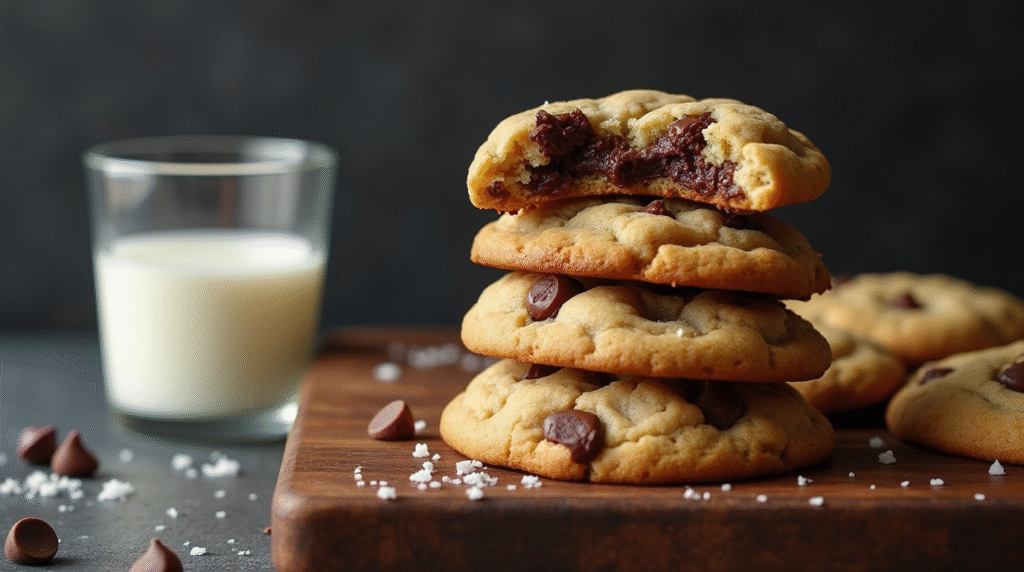
For entertaining, arrange cookies on a rustic wooden board alongside fresh berries, nuts, and artisanal chocolate pieces for an Instagram-worthy dessert spread. These cookies also make exceptional gifts when packaged in clear bags tied with ribbon, showcasing their golden-brown appeal.
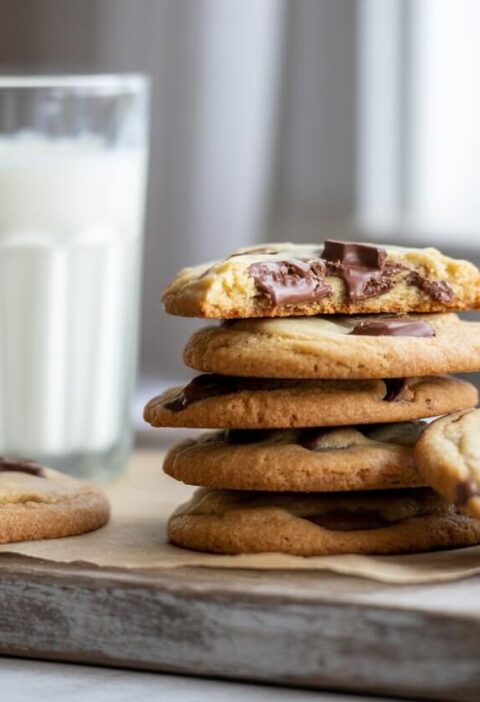
Beverage Pairings: The nutty complexity pairs beautifully with coffee, black tea, or even a glass of cold milk. For adult gatherings, consider serving alongside port wine or bourbon for an unexpected flavor harmony.
Common Mistakes to Avoid
The most critical error when making brown butter cookies is overcooking the butter, which creates bitter flavors instead of the desired nuttiness. Monitor the process carefully and remove from heat as soon as you detect the proper aroma. Another frequent mistake involves adding chocolate chips to warm dough, causing them to melt and lose their distinct texture.
Temperature control proves essential throughout the process. Using hot brown butter can scramble eggs, while insufficiently cooled butter won’t cream properly with sugars. Always test the butter temperature with your finger—it should feel barely warm, not hot.
Baking Missteps: Overbaking remains the primary reason cookies become crispy instead of chewy. Remember that cookies continue cooking on the hot pan, so err on the side of underbaking for optimal texture.
Storing Tips for the Recipe
Proper storage maintains the exceptional quality of your Brown Butter Chocolate Chip Cookies for extended periods. Store completely cooled cookies in airtight containers at room temperature for up to one week, placing parchment paper between layers to prevent sticking.
For longer storage, freeze baked cookies in freezer-safe containers for up to three months. Individual wrapping in plastic wrap before containerizing prevents freezer burn and maintains freshness. Alternatively, freeze shaped dough balls on baking sheets, then transfer to freezer bags for fresh-baked cookies anytime.
Make-Ahead Strategy: Brown the butter up to 24 hours in advance and store covered at room temperature. This time-saving technique allows for quick cookie assembly when desired while maintaining flavor integrity.
Conclusion
These Brown Butter Chocolate Chip Cookies transform a beloved classic through simple technique mastery, delivering professional-quality results in just four essential steps. The nutty complexity from browned butter elevates ordinary ingredients into extraordinary treats that satisfy both texture and flavor cravings perfectly.
Ready to create your own batch? Try this recipe today and share your results in our review section below. Don’t forget to leave a comment describing your experience and subscribe for more innovative baking techniques and recipes that will transform your home kitchen into a gourmet destination.
FAQs
Q: Can I make Brown Butter Chocolate Chip Cookies without browning the butter? A: While possible, browning the butter is essential for achieving the signature nutty flavor and enhanced depth that distinguishes these cookies from standard chocolate chip varieties. Skipping this step results in ordinary cookies.
Q: Why are my cookies spreading too much during baking? A: Excessive spreading usually indicates the brown butter was too warm when mixed with other ingredients, or the oven temperature is too low. Ensure butter cools to barely warm temperature and verify oven accuracy with a thermometer.
Q: How can I tell when the butter is properly browned? A: Look for amber coloring and listen for the sizzling to quiet down, indicating water evaporation is complete. The unmistakable nutty aroma is your best indicator—it should smell like toasted hazelnuts or almonds.
Q: Can I use salted butter instead of unsalted for this recipe? A: Yes, but reduce the added salt to 1/2 teaspoon to prevent oversalting. Unsalted butter provides better flavor control, especially important when browning intensifies the butter’s taste.
Q: What’s the secret to achieving the perfect chewy texture? A: The combination of brown butter’s reduced moisture content, proper sugar ratios, and precise baking timing creates the ideal chewy consistency. Slightly underbaking ensures centers remain soft while edges set properly.
Q: How long should I let the brown butter cool before using it? A: Allow 10-15 minutes cooling time until the butter feels barely warm to touch. Using hot butter can scramble eggs and prevent proper creaming with sugars, affecting final texture significantly.