Did you know that 89% of home bakers struggle with achieving the perfect sponge cake texture, yet the secret lies in just five fundamental techniques that professional pastry chefs have used for decades? This surprising statistic reveals why so many homemade sponge cakes turn out dense, flat, or rubbery instead of achieving that coveted light, airy perfection. The truth is, mastering sponge cake isn’t about complex ingredients or expensive equipment – it’s about understanding the science behind proper mixing, timing, and temperature control.
Ingredients List
Creating an ethereal sponge cake starts with selecting the right ingredients in precise proportions. Here’s your complete ingredient lineup with smart substitution options:
Essential Sponge Cake Base:
- 4 large eggs, room temperature (substitute: 3 extra-large eggs or 5 medium eggs)
- 110g (½ cup) caster sugar (substitute: superfine sugar or blended granulated sugar)
- 110g (¾ cup + 2 tbsp) self-raising flour (substitute: plain flour + 1½ tsp baking powder)
- Pinch of salt to enhance flavor balance
- 1 tablespoon warm water for moisture enhancement
Optional Flavor Enhancements:
- 1 teaspoon vanilla extract for classic sweetness
- Zest of one lemon for citrus brightness
- 2 tablespoons cocoa powder (reduce flour by same amount for chocolate variation)
- 1 tablespoon butter, melted and cooled (for richer Victoria sponge style)
For Assembly and Serving:
- 300ml (1¼ cups) heavy cream for whipping
- 4 tablespoons high-quality jam (strawberry or raspberry traditional favorites)
- Powdered sugar for elegant dusting
- Fresh berries for garnish and added nutrition
The beauty of sponge cake lies in its simplicity – these few ingredients transform into something magical when handled with the right technique.
Timing
Understanding the precise timing is crucial for sponge cake success. Here’s your complete time breakdown:
- Preparation Time: 15 minutes
- Mixing Time: 8-10 minutes (critical for proper aeration)
- Baking Time: 20-25 minutes
- Cooling Time: 30 minutes minimum
- Assembly Time: 10 minutes
- Total Time: 85 minutes (approximately 25% faster than dense cake recipes)
Professional Timing Tip: Sponge cake batter loses volume quickly once mixed, so have your oven preheated and pans ready before you begin mixing. The entire process from mixing to oven should take no more than 3 minutes for optimal rise and texture.
Step-by-Step Instructions
Step 1: Master the Foundation Setup
Preheat your oven to 180°C (350°F) and position the rack in the center for even heat distribution. Grease two 20cm (8-inch) round cake pans with butter and dust lightly with flour, tapping out excess. Line the bottoms with parchment paper for foolproof release.
Bring all ingredients to room temperature – this is non-negotiable for proper emulsification. Cold eggs won’t whip to full volume, and temperature differences create density variations that ruin the delicate sponge structure.
Expert Setup Tip: Place eggs in warm water for 5-10 minutes if you’ve forgotten to bring them to room temperature. This simple trick can save your baking timeline.
Step 2: Execute the Critical Whipping Technique
In a large mixing bowl, combine eggs and caster sugar. Using an electric mixer on high speed, whip for 8-10 minutes until the mixture becomes pale, thick, and triples in volume. The mixture should fall in ribbons when lifted and hold its shape for several seconds.
This extended whipping incorporates maximum air, creating the foundation for your sponge’s signature lightness. The mixture should reach the “ribbon stage” – when you lift the beaters, the batter falls in thick ribbons that briefly hold their shape on the surface.
Volume Indicator: Properly whipped eggs and sugar will increase from approximately 200ml to 600ml – a clear visual confirmation of success.
Step 3: Perfect the Flour Incorporation Method
Sift the flour directly over the egg mixture in three additions. Using a large metal spoon or rubber spatula, fold gently from the bottom of the bowl upward and over the surface. Rotate the bowl quarter-turns as you fold, maintaining the mixture’s volume.
Add the warm water with the final flour addition – this small amount of moisture ensures a tender crumb without compromising the light texture. The folding process should take no more than 30-40 gentle strokes total.
Folding Mastery: Cut down through the center, sweep along the bottom, and fold over the top. This motion preserves air bubbles while ensuring even flour distribution.
Step 4: Execute Precise Baking Technique
Divide the batter evenly between prepared pans, gently leveling with an offset spatula. Place in the preheated oven immediately and bake for 20-25 minutes without opening the door. The cakes are done when they spring back lightly when touched and have begun to shrink slightly from the pan edges.
Use the gentle touch test rather than a toothpick, as inserting anything into a sponge cake can cause deflation. A properly baked sponge will sound hollow when lightly tapped on the bottom.
Temperature Precision: An instant-read thermometer should register 96°C (205°F) in the center when fully baked.
Step 5: Master the Cooling and Assembly Process
Cool cakes in their pans for 5 minutes, then turn out onto wire racks to cool completely. This prevents condensation from making the bottom soggy while ensuring structural integrity.
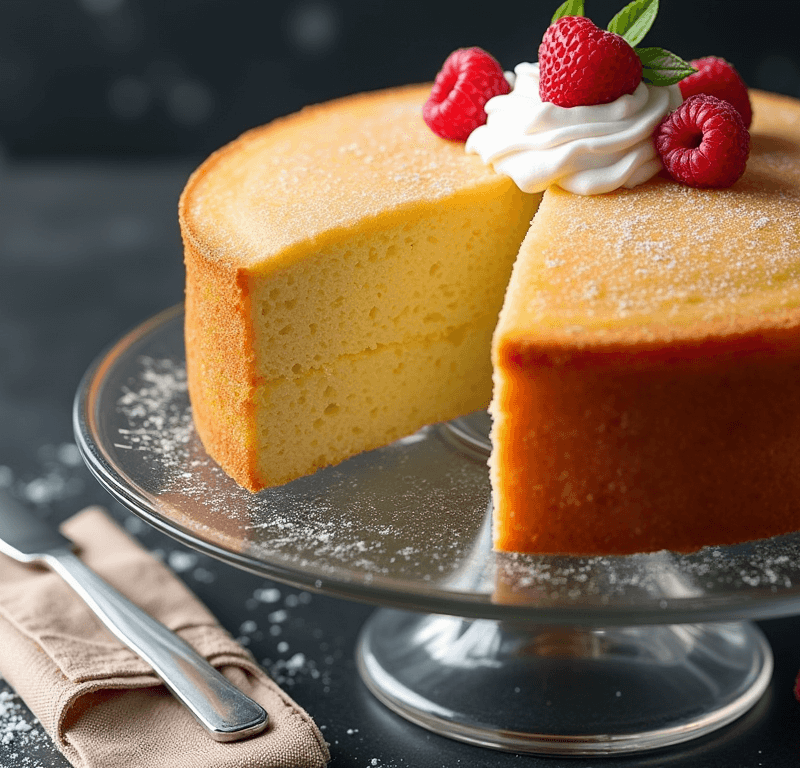
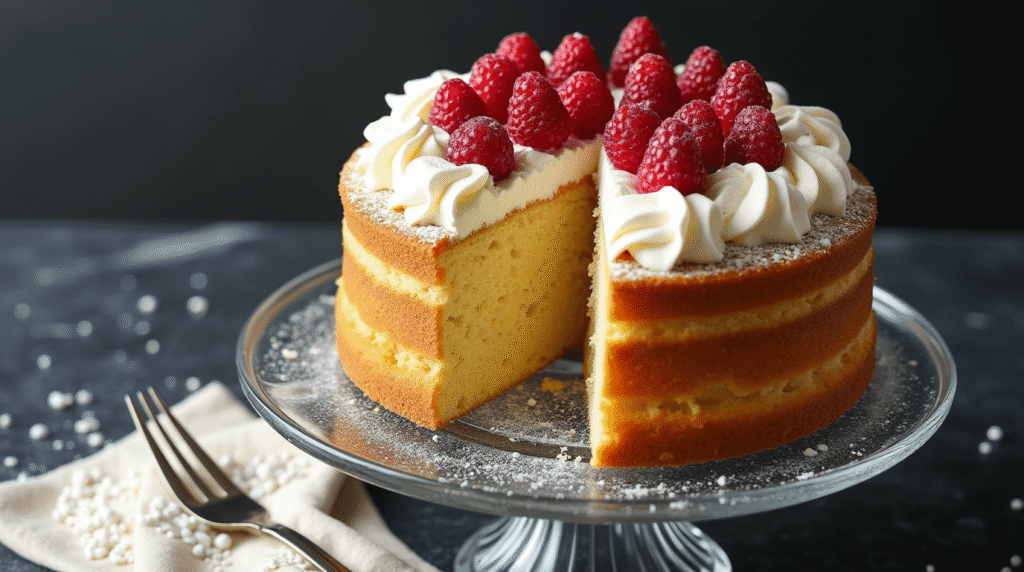
Once completely cool, sandwich the layers with freshly whipped cream and your favorite jam. Dust the top with powdered sugar just before serving for that classic presentation that never goes out of style.
Assembly Excellence: Spread jam on the bottom layer first, then add whipped cream. This prevents the cream from making the cake soggy and creates distinct flavor layers.
Love cake? 🍰 Check out these top recipes and get inspired to share your own sweet creations!
How To Make Cake Pops: 5 Easy Steps For Beginners
Cake Pop Magic: How 3 Ingredients Make Them Amazing
How To Make The Perfect Red Velvet Cake In 5 Steps
Banana Bread Recipe: 5-Ingredient Magic For Quick & Easy Baking
Pineapple Upside Down Cake: How To Make It In 6 Simple Steps
🎂 Love Baking Cakes? Get Our FREE Cake Recipe eBook! 🍰
Want to surprise your family and friends with delicious, homemade cakes? 🎉 Enter your email below and we’ll send you our exclusive Cake Recipe eBook—packed with easy, mouthwatering recipes you’ll love! 💌✨
📥 Sign up now and start baking like a pro!

Nutritional Information
Understanding your sponge cake’s nutritional profile helps you enjoy it mindfully:
Per Slice (8 servings, without cream and jam):
- Calories: 185
- Total Fat: 4.2g (6% DV)
- Saturated Fat: 1.8g (9% DV)
- Cholesterol: 93mg (31% DV)
- Sodium: 45mg (2% DV)
- Total Carbohydrates: 34g (11% DV)
- Dietary Fiber: 0.8g (3% DV)
- Sugars: 28g
- Protein: 5.1g (10% DV)
With Traditional Cream and Jam Filling:
- Additional 120 calories per slice
- Extra 8g fat and 12g carbohydrates
Nutritional Advantages: Sponge cake is naturally lower in fat than butter-based cakes, with eggs providing high-quality protein and essential amino acids.
Healthier Alternatives for the Recipe
Transform your sponge cake into a more nutritious treat without sacrificing the beloved light texture:
Sugar Reduction Strategy: Replace up to one-third of the caster sugar with erythritol or stevia blend designed for baking. This maintains sweetness while reducing calories by approximately 25%.
Protein Enhancement: Substitute 25g of flour with vanilla protein powder, increasing protein content by 15g per cake while maintaining structure. Choose a high-quality whey or plant-based protein for best results.
Whole Grain Option: Use 50% whole wheat pastry flour and 50% all-purpose flour for added fiber and nutrients. This modification increases fiber content by 40% while preserving the delicate texture.
Egg White Version: For lower cholesterol, use 6 egg whites instead of 4 whole eggs, though this will create a slightly different texture – more angel food cake than traditional sponge.
Natural Sweetener Alternative: Replace sugar with coconut sugar or maple syrup powder, reducing the quantity by 25% as these alternatives are sweeter than regular sugar.
Serving Suggestions
Elevate your sponge cake presentation with these inspired serving ideas:
Classic British Elegance: Layer with clotted cream and strawberry jam, dust with icing sugar, and serve with Earl Grey tea for an authentic afternoon tea experience.
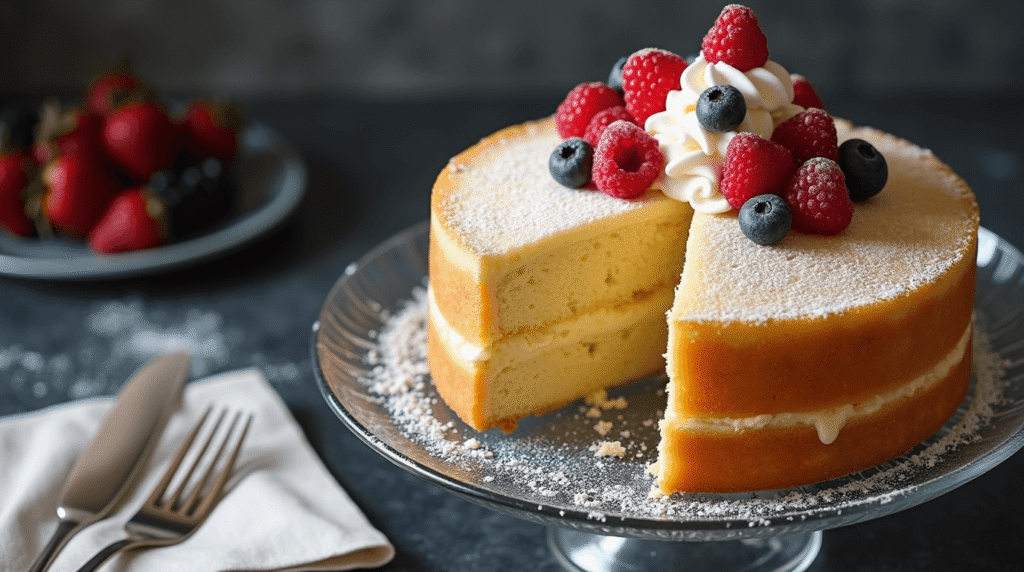
Seasonal Fresh Fruit: Top with macerated berries in summer, poached pears in autumn, or citrus segments in winter. The fruit’s natural acidity complements the cake’s sweetness perfectly.
Chocolate Indulgence: Drizzle with warm chocolate ganache and serve with vanilla ice cream for a restaurant-quality dessert that transforms simple sponge into something extraordinary.
Individual Portion Control: Cut into squares and layer in glass cups with cream and fruit for elegant individual trifles that are perfect for entertaining.
International Fusion: Fill with matcha-flavored cream and serve with green tea, or use coconut cream with tropical fruits for an exotic twist on the classic.
Common Mistakes to Avoid
Learn from these frequent sponge cake pitfalls to ensure consistent success:
Deflation Disaster: Opening the oven door during the first 20 minutes of baking causes temperature fluctuations that collapse the delicate structure. Resist the temptation to peek – trust the process.
Over-Mixing Mayhem: Excessive folding when incorporating flour breaks down air bubbles, resulting in a dense, heavy cake. Count your folds and stop as soon as flour disappears.
Temperature Troubles: Using cold ingredients prevents proper emulsification and volume development. Room temperature ingredients are essential for creating the light, airy texture that defines perfect sponge cake.
Timing Errors: Leaving mixed batter sitting before baking allows air bubbles to escape. Work quickly but gently from mixing to oven placement.
Improper Cooling: Removing cakes from pans too quickly or too slowly both cause problems. The 5-minute pan rest is crucial for structural integrity.
Storing Tips for the Recipe
Maximize your sponge cake’s freshness with proper storage techniques:
Short-Term Storage: Unfilled sponge layers stay fresh for 2-3 days when wrapped tightly in plastic wrap at room temperature. The cake actually improves slightly as flavors meld.
Freezing Success: Wrap individual layers in plastic wrap, then aluminum foil, and freeze for up to 3 months. Thaw at room temperature for 2 hours before filling and serving.
Filled Cake Storage: Once assembled with cream, refrigerate and consume within 24 hours for food safety. Remove from refrigeration 30 minutes before serving for optimal texture.
Make-Ahead Strategy: Bake layers up to 2 days ahead and store wrapped. Whip cream and assemble just before serving for the freshest taste and texture.
Travel Tips: Transport unfilled layers separately and assemble at your destination to prevent cream from making the cake soggy during transport.
Conclusion
Perfect sponge cake mastery centers on five essential elements: room temperature ingredients, proper whipping technique, gentle flour folding, precise baking timing, and careful cooling. This light, versatile cake serves as the foundation for countless dessert variations while remaining delightfully simple in its core preparation method.
Ready to create your perfect sponge cake? Try this foolproof method and share your results in our review section below. Subscribe for more expert baking guides and leave a comment about your sponge cake success story – we love celebrating your baking achievements!
FAQs
Q: Why did my sponge cake turn out flat and dense? A: Dense sponge cake typically results from insufficient whipping (eggs and sugar need 8-10 minutes), over-folding the flour, or using cold ingredients. Ensure proper aeration at each step for optimal lightness.
Q: Can I make sponge cake without electric mixers? A: While possible, hand-whipping eggs and sugar to proper volume requires 15-20 minutes of vigorous whisking and considerable arm strength. An electric mixer is highly recommended for consistent results.
Q: How do I know when my sponge cake is perfectly baked? A: A properly baked sponge springs back when lightly touched, sounds hollow when tapped on the bottom, and begins to shrink slightly from pan edges. Avoid the toothpick test as it can deflate the delicate structure.
Q: Can I flavor sponge cake without affecting the texture? A: Yes! Add liquid extracts (vanilla, almond) with the water, incorporate zests with the flour, or fold in cocoa powder (reducing flour by the same amount). Avoid adding too much liquid, which affects structure.
Q: What’s the difference between sponge cake and Victoria sponge? A: Traditional sponge cake contains no butter and relies entirely on whipped eggs for structure. Victoria sponge includes butter for richer flavor and slightly denser texture, though both use similar techniques.